
· 8 min read · SureRoof
- 1
Inspect
Free photo report before you file
- 2
Document
Every slope, close-ups, soft metal
- 3
File
Date of loss, policy number, photos
- 4
Adjuster
Roofer on the roof with them
- 5
Scope
Check line items, supplement gaps
- 6
Build & collect
Depreciation released on invoice
Before you call anyone: get the roof inspected
The single biggest mistake first-time claimants make is calling their insurance company before they know whether there's real damage. Here's why that backfires: a claim — even one that gets denied or withdrawn — goes on your home's claim history, and carriers can raise rates or non-renew policies with multiple weather claims on record. Filing "to see what happens" is an expensive experiment.
Instead, start with an inspection. If you're comfortable on a ladder, walk the perimeter and look for the tell-tale signs we cover in our hail damage guide. If you're not (and most people shouldn't be climbing a 2-story roof after a storm), a reputable local roofer will inspect for free. At SureRoof, our free inspections come with a written photo report — which is exactly the evidence the claim is built on.
Step 1: Document everything — before anything changes
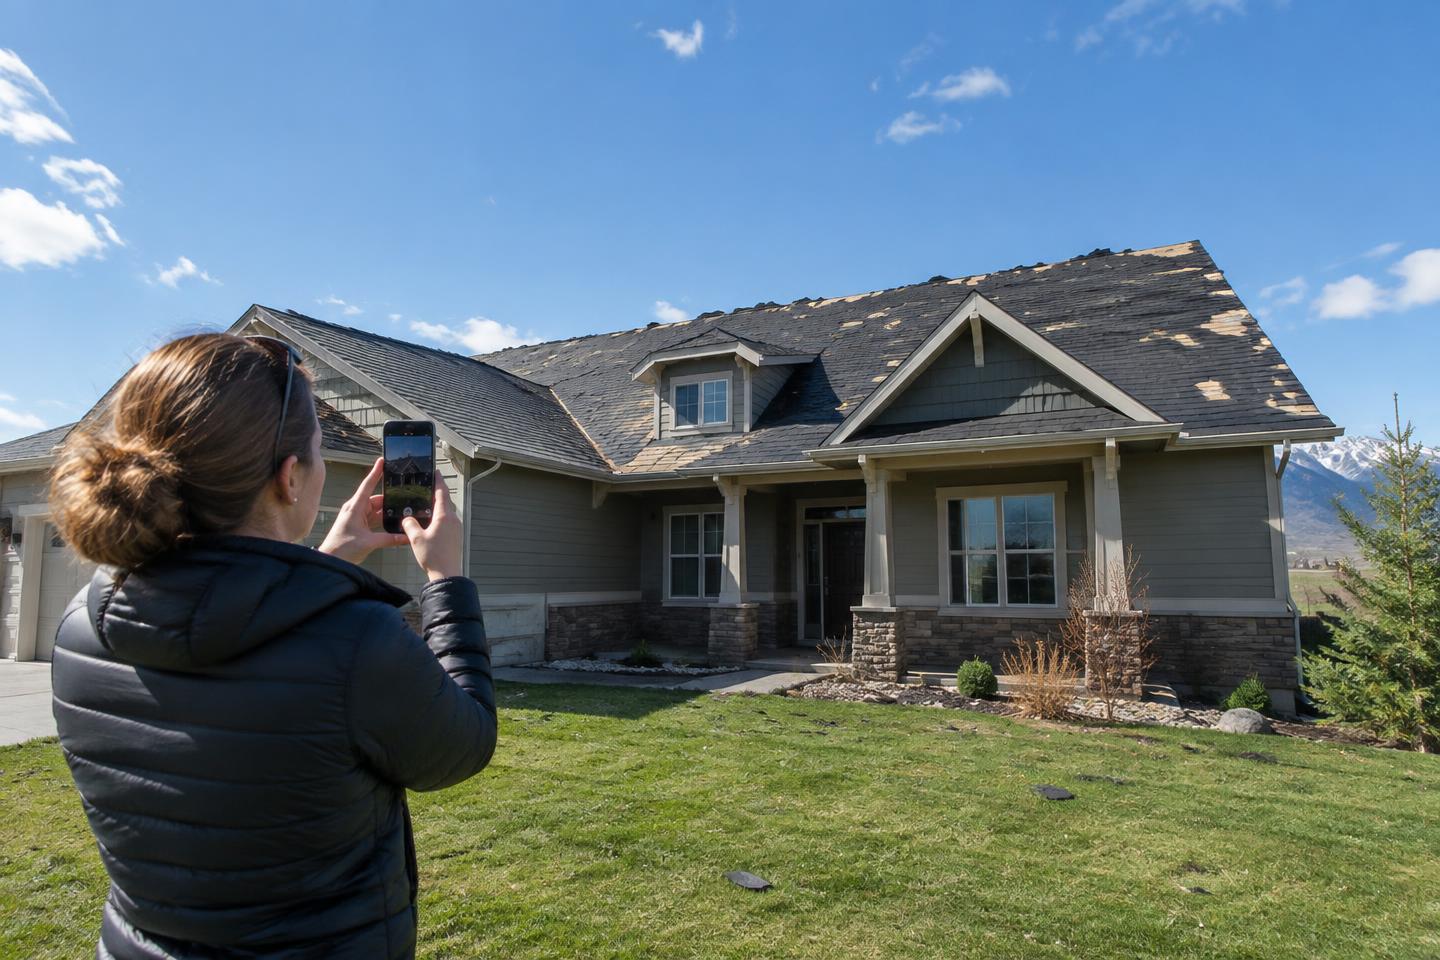
Your claim will live or die on documentation. Take photos as soon as possible after the storm, before any repairs, and before shingles shift or granules wash away. A strong documentation set includes:
- Wide shots of every roof slope — one photo per side, taken from the ground at each corner of the house.
- Close-ups of damage — bruised or missing shingles, cracked tabs, exposed mat. Get within a few feet and put something in frame for scale, like a quarter or your hand.
- Soft metal dents — gutters, downspouts, vent hoods, flashing, A/C units. Dents here prove the storm's intensity.
- Granules at the ground — piles of shingle sand at downspout outlets.
- Collateral damage — window screens, siding, decks, fences, vehicles.
- Interior evidence — water stains on ceilings, on walls, in the attic, with something showing the date.
Photo tips that matter: keep the originals at full resolution (don't compress them through texting apps), leave the location and timestamp on if your phone offers it, and organize photos by slope or by room so you're not scrolling during the adjuster call. If a contractor documents the roof for you, ask for the full photo set — not a summary. A professional damage documentation report with a chalked test square and measured slopes is the difference between an adjuster saying "I see it" and "I see it, and here's the scope."
Step 2: Find the facts you'll need on the phone
When you call your carrier's claims line (or file online), the conversation takes ten minutes if you have these ready, and thirty if you don't:
- Your policy number
- The date of loss — the date of the storm, not the date you noticed. If you're unsure, the inspection report and local weather records usually pin it down.
- A short, factual description: "Hail storm on June 14 damaged the asphalt shingle roof and gutters." No estimates, no opinions, no diagnosis of internal damage you haven't confirmed.
- Your photos (most carriers accept uploads through their app or portal)
While you have them on the phone, ask three questions: What is my deductible — and is it a separate, higher wind/hail deductible? Is my policy replacement cost value (RCV) or actual cash value (ACV)? How long do I have to file and to complete repairs? Write the answers down; they shape every later decision.
Step 3: The adjuster inspection
Within a few days to two weeks, the carrier sends an adjuster to inspect the roof. Two things to know going in:
- The adjuster works for the insurance company. They're often a good, fair professional — but they also see dozens of roofs a week and are looking for reasons to attribute damage to age and wear rather than the storm. Documentation is what keeps the claim honest.
- Have your roofer there. This is the step that decides most claims. We walk the roof with the adjuster, point out the test squares and bruising we already photographed, and make sure soft-metal damage and accessories (vents, skylights, ridge caps) don't get skipped. Adjusters rarely revisit a roof; whatever they miss the first time becomes an argument later.
Don't repair anything before this visit — you'd be erasing the evidence. And be wary of any contractor who offers to "handle the whole claim" for you: in Montana, negotiating a claim is work reserved for licensed adjusters and attorneys. The roofer's job is documentation, the adjuster meeting, and accurate pricing.
Step 4: Review the scope of loss
After the inspection, the carrier issues an itemized scope of loss — their line-item list of what they'll pay to replace or repair. This is where claims are quietly underpaid. Check it for the items that get missed most often:
- Ice-and-water membrane and drip edge
- Ridge vent and starter course
- Flashing, pipe boots, and valley metal
- Steep-pitch and second-story access charges
- Code-upgrade items your local building code requires
- Gutters, screens, and other collateral damage from the same storm
If items are missing, that's not a fight — it's a supplement. Your contractor submits documentation for the specific items, and carriers approve most complete supplements without dispute. This is routine, not adversarial.
Step 5: Get the work done and collect the depreciation
On a replacement-cost policy, the first check arrives up front: the approved scope, minus your deductible, minus depreciation — the value the carrier holds back based on the roof's age. After the work is complete and they receive the final invoice, the carrier releases the held-back amount. Two rules:
- The final invoice must match the approved scope, so make sure the work actually gets done to it.
- Never accept a contractor who offers to "eat your deductible" by inflating the invoice to cover it. That's insurance fraud in Montana, and it voids your claim.
On an actual-cash-value policy, there's no depreciation hold-back to recover — the carrier pays the depreciated value, period. That's why the RCV vs. ACV question in Step 2 matters so much.
Timeline: what's normal and what's not
| Stage | Typical wait | What moves it |
|---|---|---|
| Adjuster visit | A few days – 2 weeks | Storm backlog in the county |
| Scope of loss issued | 1 – 2 weeks after inspection | Adjuster's caseload |
| First payment | 1 – 2 weeks after scope agreed | Mortgage company endorsement |
| Depreciation released | 2 – 4 weeks after final invoice | Invoice matching the approved scope |
A smooth claim runs four to six weeks from phone call to finished roof. Delays usually mean one of three things: a scheduling backlog after a big storm (normal — everyone in the county filed), a supplement under review (send documentation, not anger), or a dispute about whether damage is storm-related (this is where good photos earn their keep).
Common mistakes that delay or sink first claims
- Filing before inspecting. A denied claim still counts on your record.
- Waiting too long. Policies limit how long after the date of loss you can file — often one to two years, sometimes less.
- Repairing before the adjuster visit. Tarp active leaks; change nothing else.
- Throwing away damaged items. Keep the dented vent cap and the torn screen in the garage as evidence.
- Accepting the first scope without reading it. Missing line items are the norm, not the exception.
- Hiring a storm chaser. Out-of-state crews knock doors after big hail events and are gone before the warranty matters. Hire a roofer with a local address.
- Losing your receipts. Tarping, emergency repairs, and sometimes lodging are reimbursable — but only with receipts.
Where SureRoof fits in
We're not a public adjuster and we don't run your claim — the claim is between you and your carrier. What we do is make the claim accurate and easy to approve: a free pre-claim inspection, a dated and organized photo and written documentation report, a roofer on the roof at the adjuster meeting, and work built to the approved scope — billed directly to the carrier, with you paying only your deductible. If you think your roof took a hit, start with the free inspection and decide from there.
Frequently asked questions
When should I file a roof insurance claim?
File when an inspection confirms real storm damage — not on a hunch. A denied or withdrawn claim still sits on your claim history, so get the roof documented first, then call your carrier with evidence in hand.
What photos do I need for a roof insurance claim?
Wide shots of each roof slope, close-ups of damaged shingles or bruising, dents in soft metal like gutters and vents, granules at the downspouts, and photos of any interior water stains. Take them as soon as possible after the storm, with dates on.
How long does a roof insurance claim take?
Most straightforward claims move from filing to first payment in two to six weeks: an adjuster visit within days of filing, a scope of loss a week or two later, and payment after paperwork is processed. Disputes and supplements add time.
Do I need to be home for the insurance adjuster's inspection?
You or your contractor should be. The adjuster meeting is where claims are won or lost — having someone on the roof who knows where the damage is makes sure nothing gets missed.
What if my roof insurance claim is denied?
Ask for the denial reason in writing. You can request a re-inspection, submit additional documentation, or invoke appraisal. Many initial denials get reversed when better evidence is provided.
This article is general information, not legal or insurance advice. Read your policy and talk to your carrier about your specific coverage.